Self-adhesive wallpaper is an excellent choice for those looking to refresh their space without the hassle of traditional wallpapering methods. It's easy to apply, requires no extra glue, and can be a fun DIY project. Here are some top tips to help you achieve a professional-looking finish.
1. Prepare Your Wall
Preparation is key to a smooth application. Start by cleaning your walls thoroughly to remove any dirt, dust, or grease. Use a mild detergent and water, and ensure the walls are completely dry before you begin. If there are any holes or cracks, fill them in and sand the area smooth.
2. Measure and Cut
Accurate measurements are crucial for a seamless look. Measure the height and width of your wall and cut the wallpaper into strips that are slightly longer than the height of your wall. This extra length will give you some leeway for adjustments and ensure complete coverage from top to bottom.
3. Mark Your Starting Point
Decide where you want to start applying the wallpaper. It's usually best to start in the middle of the wall and work your way outwards, especially if your wallpaper has a pattern. Use a level and a pencil to draw a vertical line on the wall as your guide. This will help you keep the wallpaper straight.
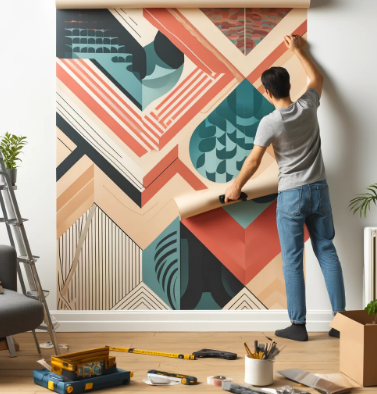
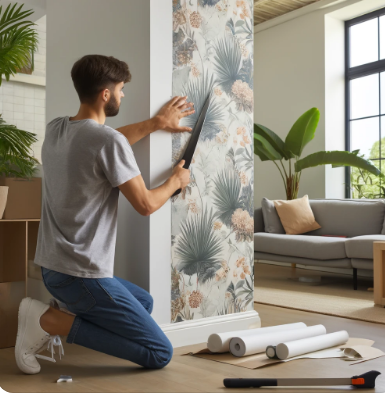
4. Peel and Stick
Begin peeling the backing off the top of the wallpaper strip. Stick the top of the strip to the wall, aligning it with your guide line. Gradually peel off the backing as you smooth the wallpaper down the wall, using a squeegee or a smoothing tool to remove any air bubbles and ensure a firm bond.
5. Trim Excess Wallpaper
Once the strip is fully applied, use a sharp utility knife to trim the excess wallpaper at the top and bottom. Be careful to cut along the edge of the wall or ceiling for a clean finish. Repeat this process for each strip, ensuring that the patterns match up and there are no gaps between the strips.
6. Work Out Air Bubbles
Even with careful application, air bubbles can form under the wallpaper. Use a smoothing tool to gently push bubbles towards the edge of the wallpaper. For stubborn bubbles, you can use a pin to puncture the bubble and then smooth it out.
7. Maintain Your Wallpaper
To keep your wallpaper looking fresh, clean it regularly with a damp cloth. Avoid using harsh chemicals or abrasive cleaners, as these can damage the surface. With proper care, self-adhesive wallpaper can last for years, maintaining its vibrant appearance and enhancing your space.
Conclusion
Applying self-adhesive wallpaper is a straightforward and rewarding DIY project. By following these tips, you can achieve a professional finish that transforms your room. Whether you're looking to add a splash of color, a touch of texture, or a bold pattern, self-adhesive wallpaper offers a versatile and easy-to-use solution for any space. Happy decorating!


